Creating and Assigning Jobs
In this section you will learn how to create a new annotation project and assign jobs.
You can create the following types of jobs in an annotation project:
- Multiple Jobs: You can divide an image into a number of grids thereby creating multiple jobs. You can then proceed to assign grids as annotation jobs to annotators in your team.
- Single Job: You can assign an entire image as a job to an annotator in your team.
Let's take a look at how to create and assign jobs...
Multiple Jobs
When you create multiple jobs, you can easily assign a grid or grids to members of the annotation team.
In this section, you will understand the process to create multiple jobs.
To create multiple jobs, do the following:
-
Open an annotation project. For example, AnnotationProject_UAE.
-
On the annotation project homepage, under Project Images panel, select an image that you want to annotate.
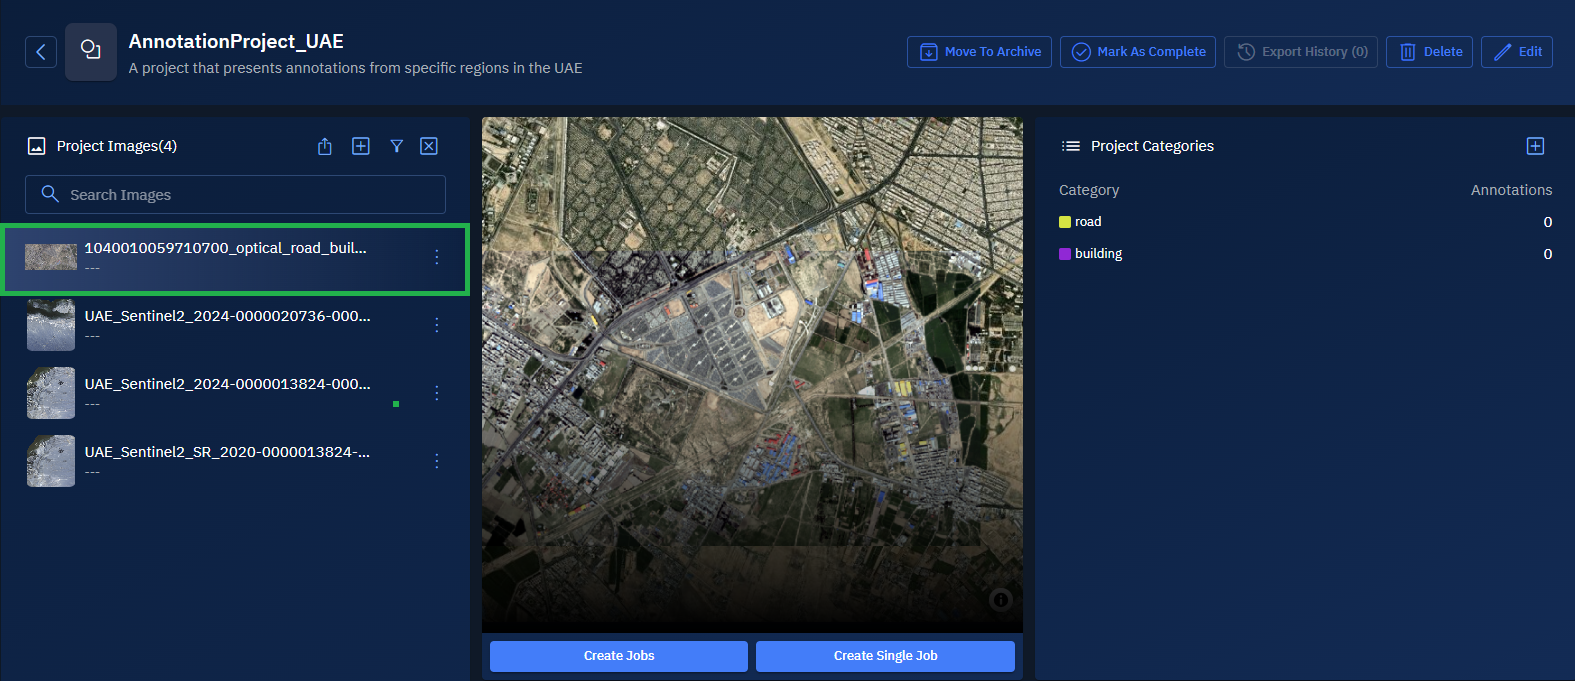
The preview of the image is displayed. The Create Jobs and Create Single Job buttons are activated.
- Click the Create Jobs button to start the process of creating multiple jobs.
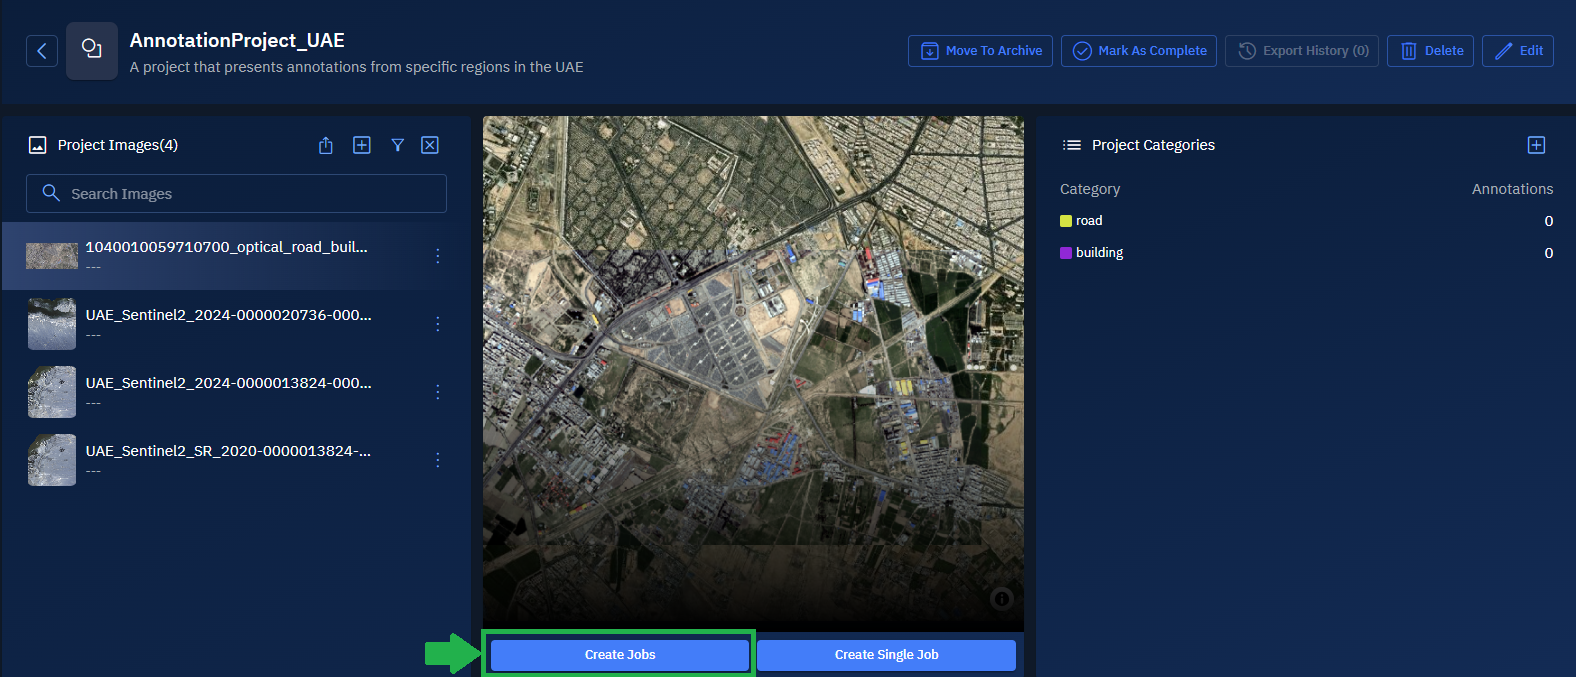
The Create Jobs page is displayed.
-
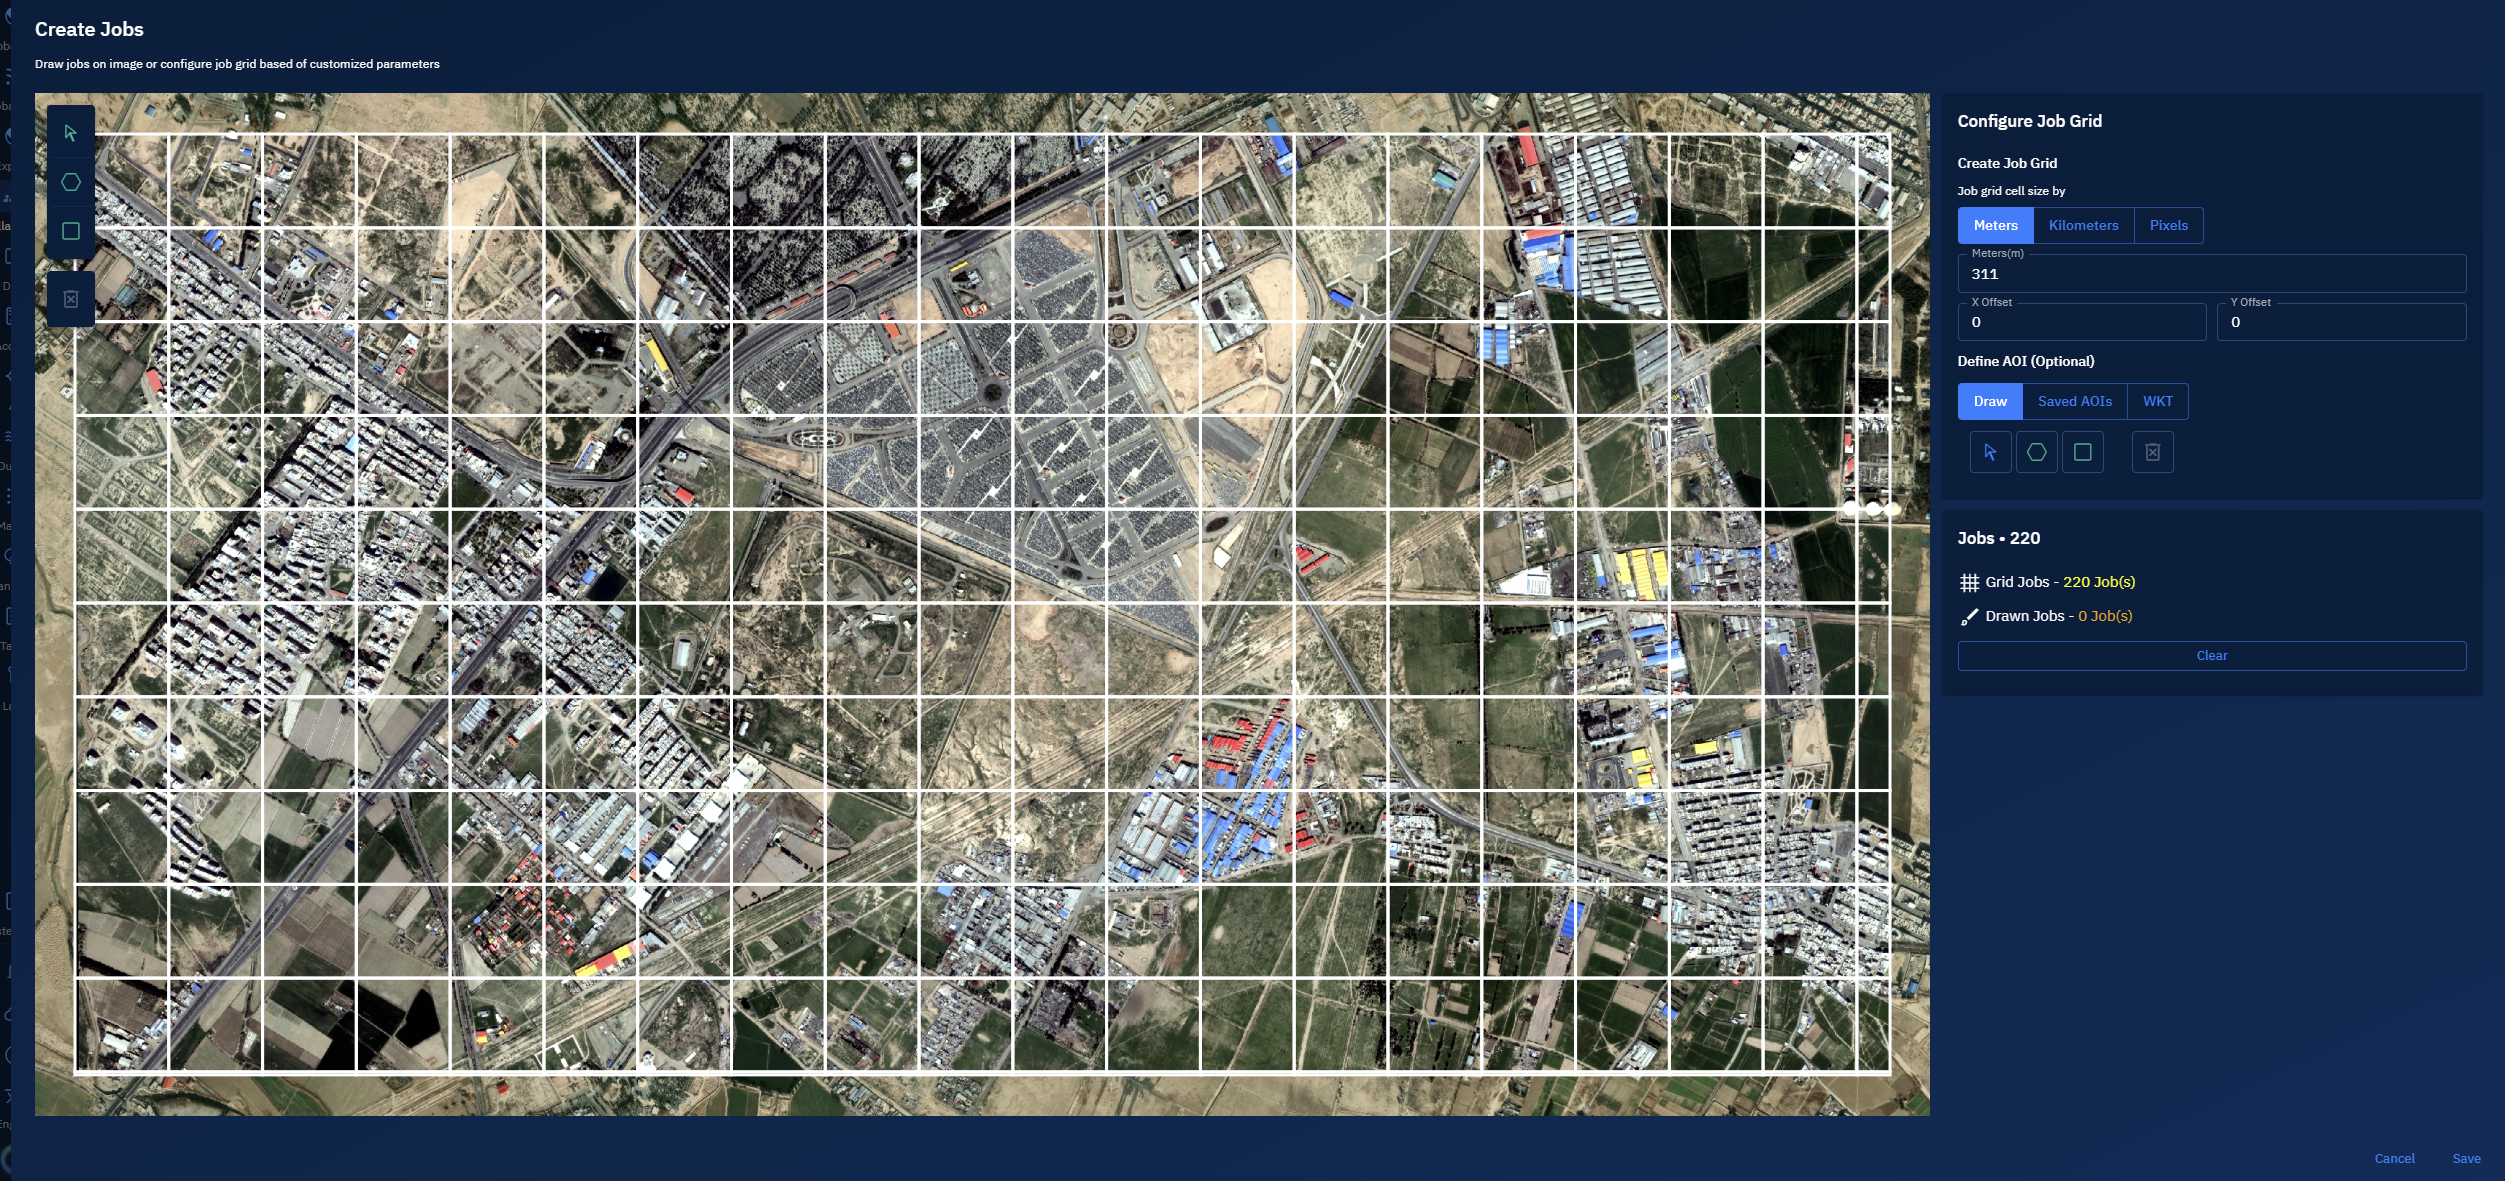
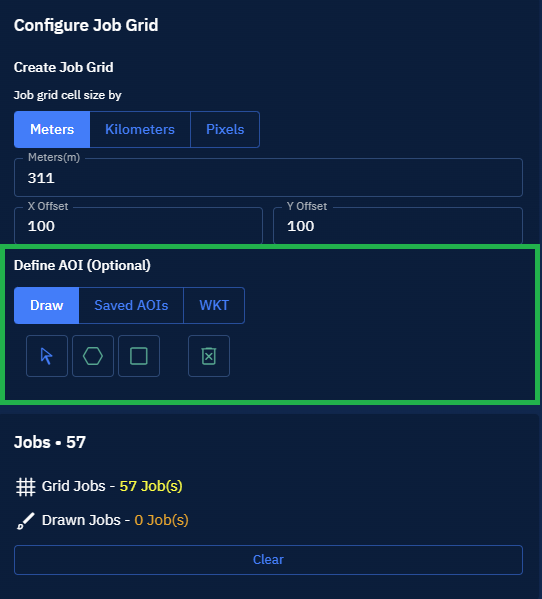
On the Create Jobs page, under the Create Job Grind section, select one of the following measurement units:
- Meters
- Kilometers
- Pixels
-
Type a numerical value to define the width and height of each cell. Example: To create cells that are
311 meters wide, selectMetersand type311.
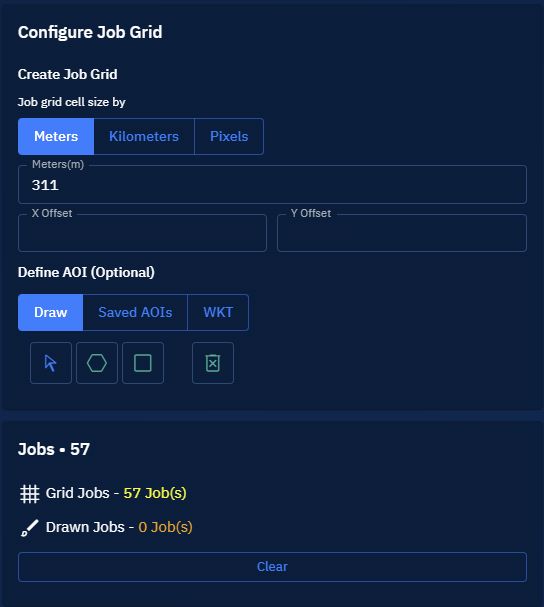
- Type numerical values in the X Offset and Y Offset fields to set the starting position of the grid. The default offset setting is
0, 0.

- Under the Define AOI section, select the Polygon or Rectangle tool to define an area of interest on the selected image. This is an optional step.
- Verify the real-time grid preview and proceed to click the Save button.
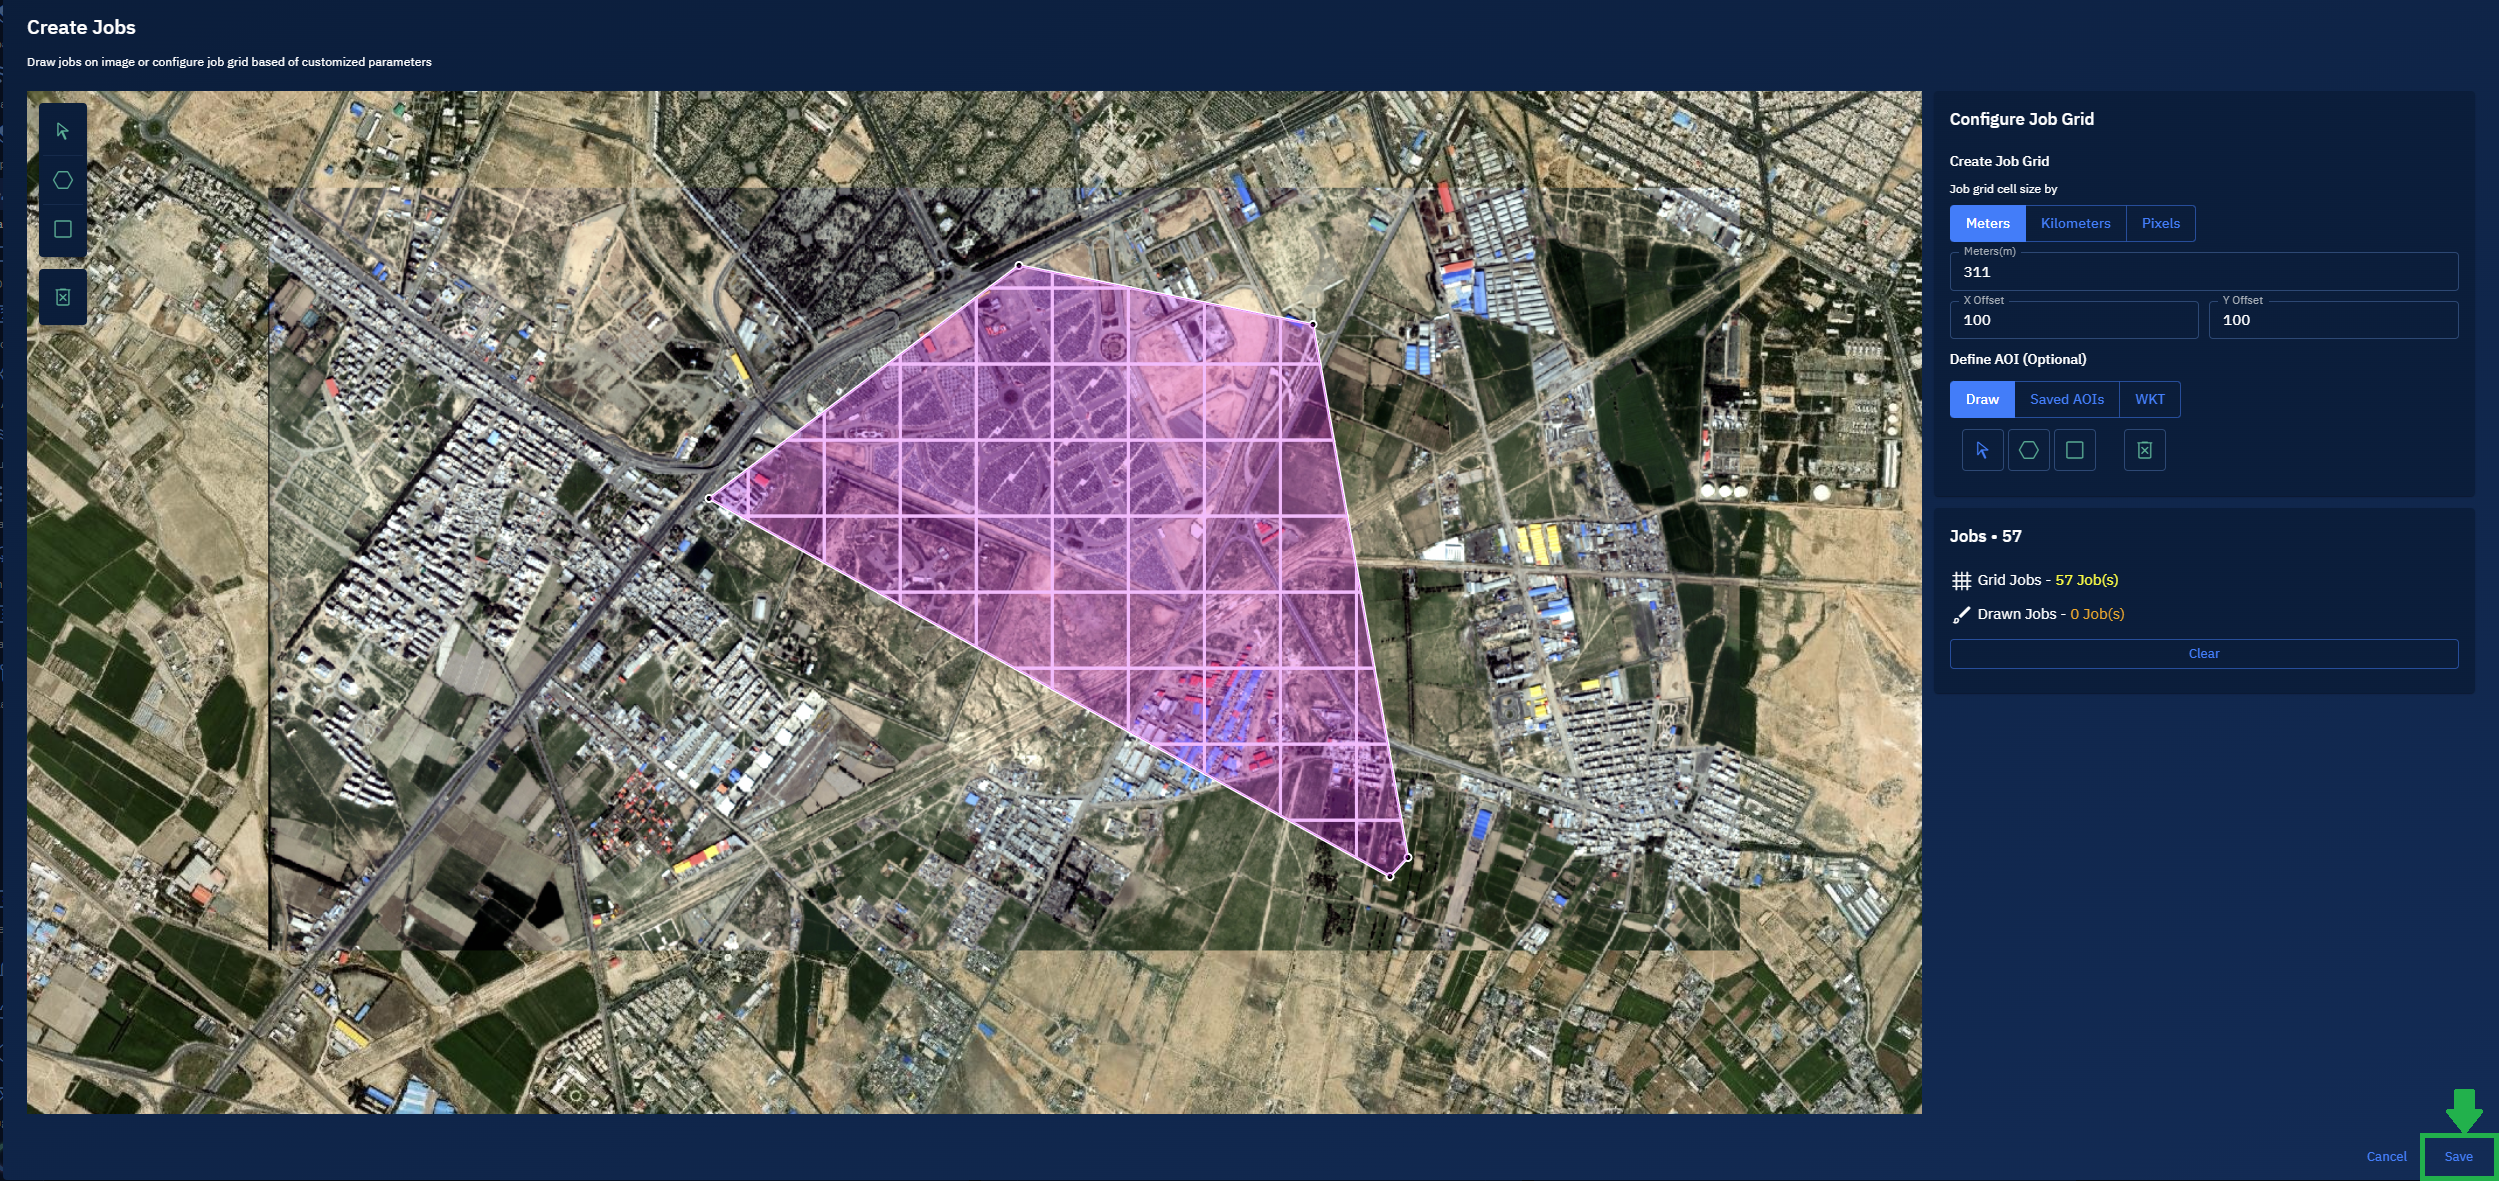
The grids are successfully created. The annotation project homepage is displayed.
- On the Annotation Project homepage, do the following:
- Press Shift + Click to select multiple job grids.
- Select a user from the User drop-down list, and then click the Done icon. '
- Repeat the step to assign job grids to other users.
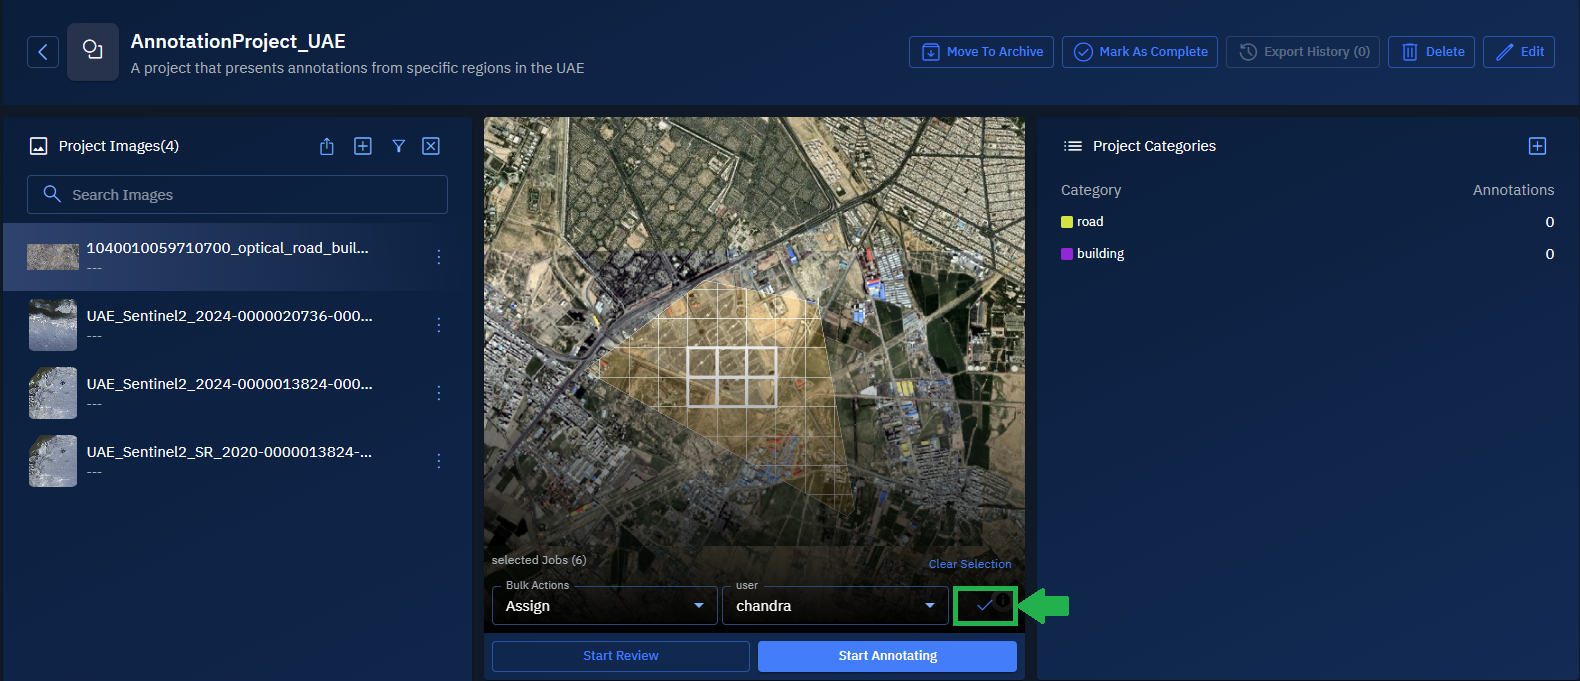
The job is successfully assigned to the annotator.
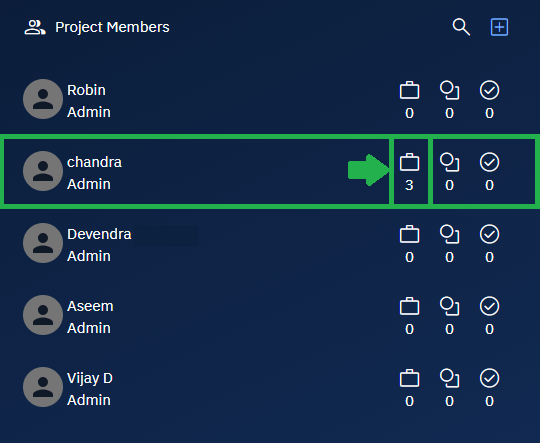
- View the Project Members panel to verify that the jobs are successfully assigned to the annotator.
Single Job
When you create a single job, you can simply assign the entire image to a member of the annotation team.
Unlike assigning multiple jobs, you can assign the entire image as a single job to an annotator. Since there is concept of dividing the image into grids or jobs in single job, the entire image is one, single job.
To create a single job, do the following:
- Open an annotation project. For example, AnnotationProject_UAE.
The annotation project homepage is displayed.
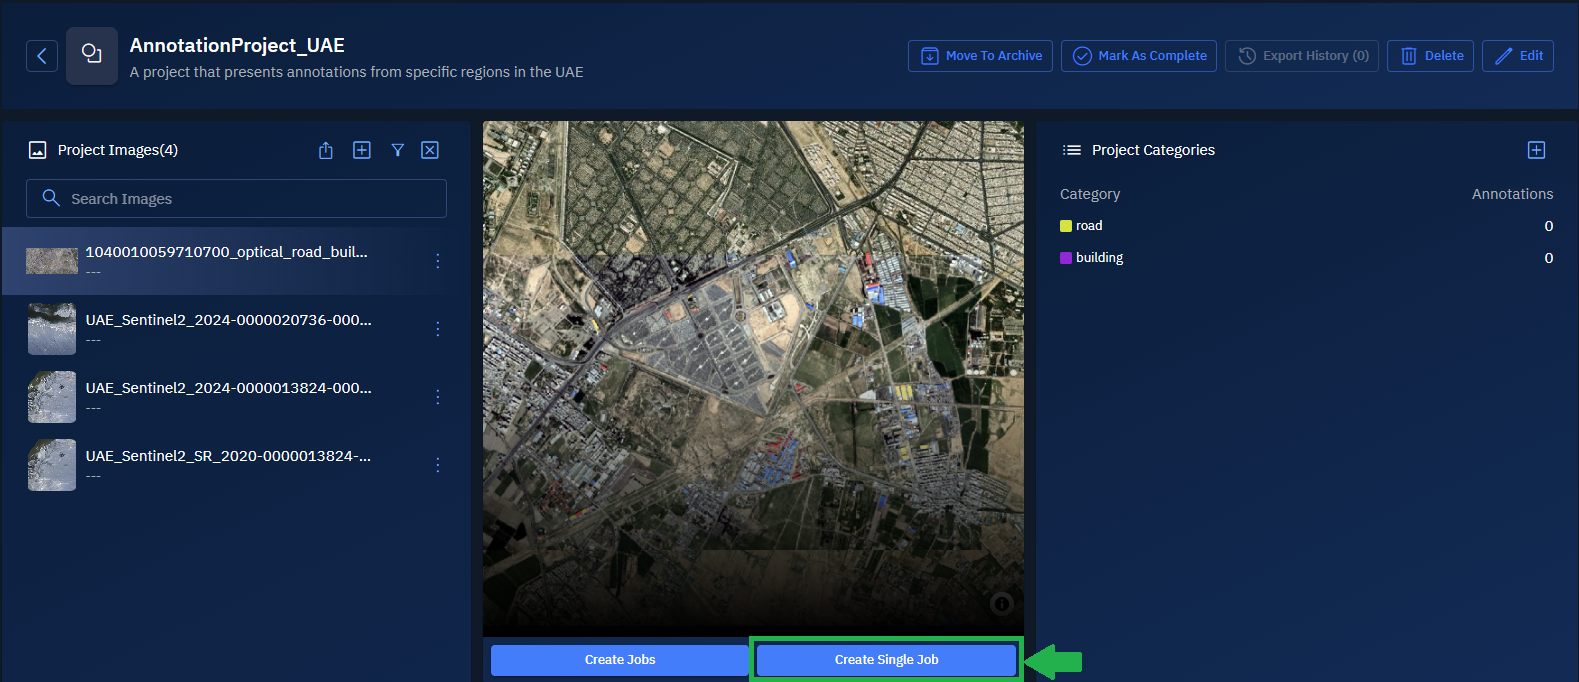
- In the annotation project homepage, under Project Images panel, select an image that you want to annotate.
The preview of the image is displayed. The Create Jobs and Create Single Job buttons are activated.
- Click the Create Jobs button to start the process of creating a job.
A job is successfully created and a confirmation message is displayed.
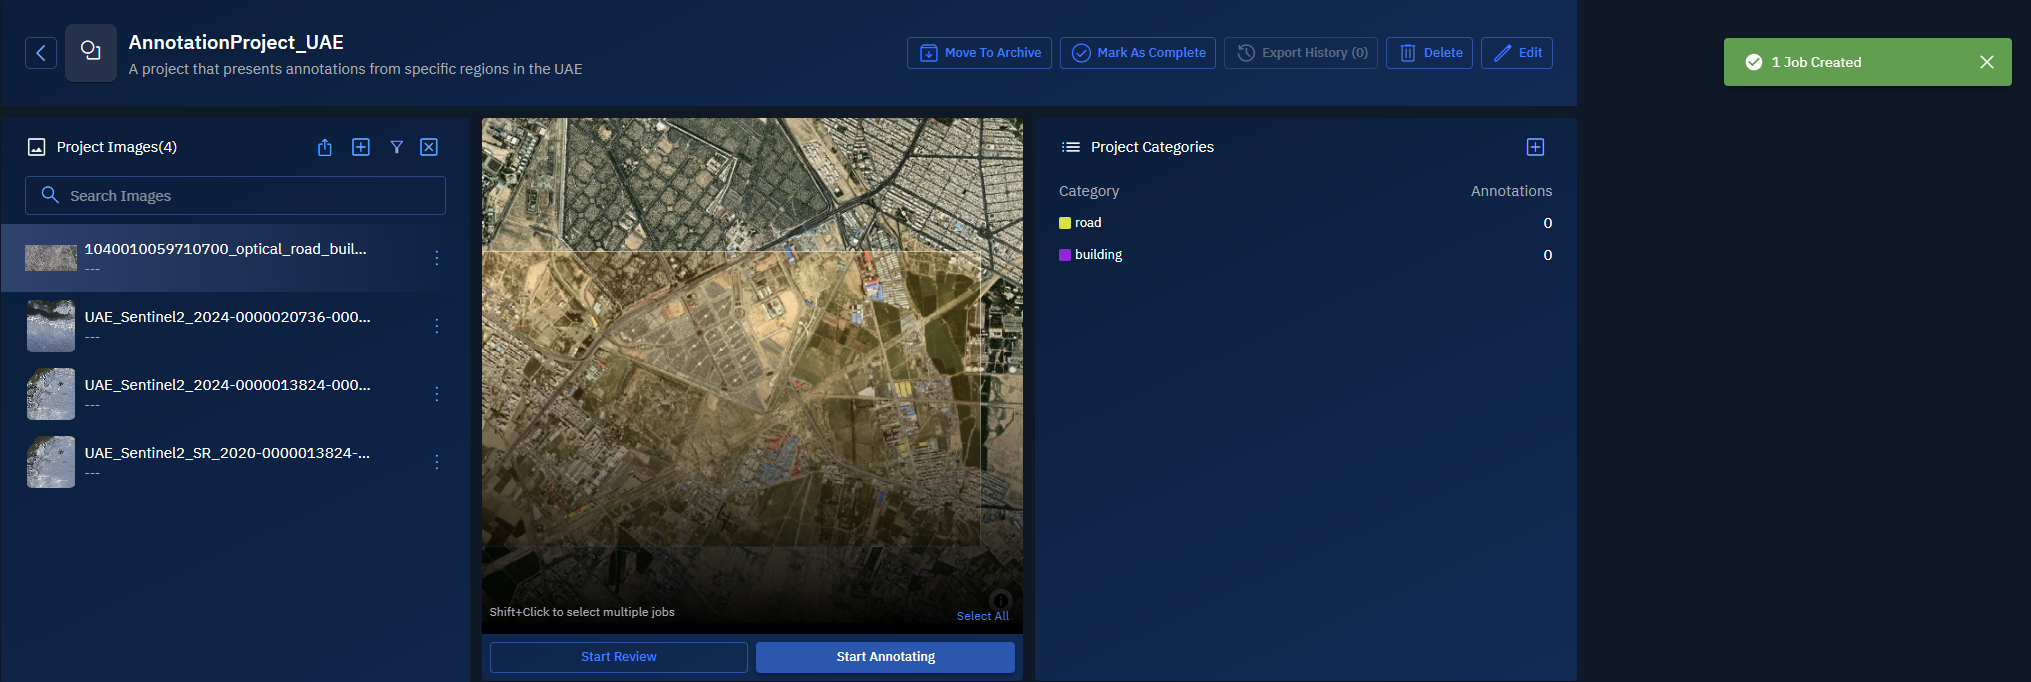
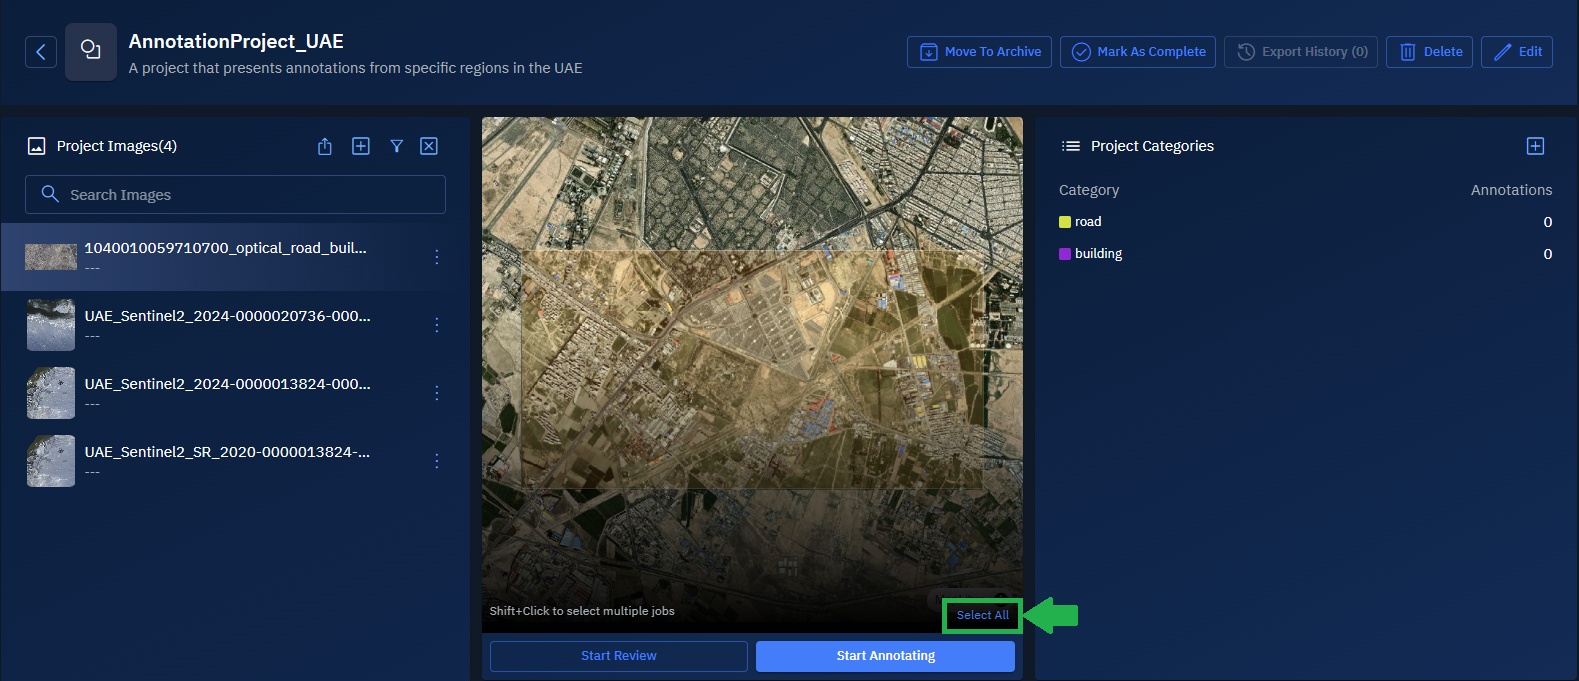
- Click the Select All button to select the entire image.
- Click the User drop-down list to select a user, and then click the OK icon to assign the entire image as one, single job to a single user.
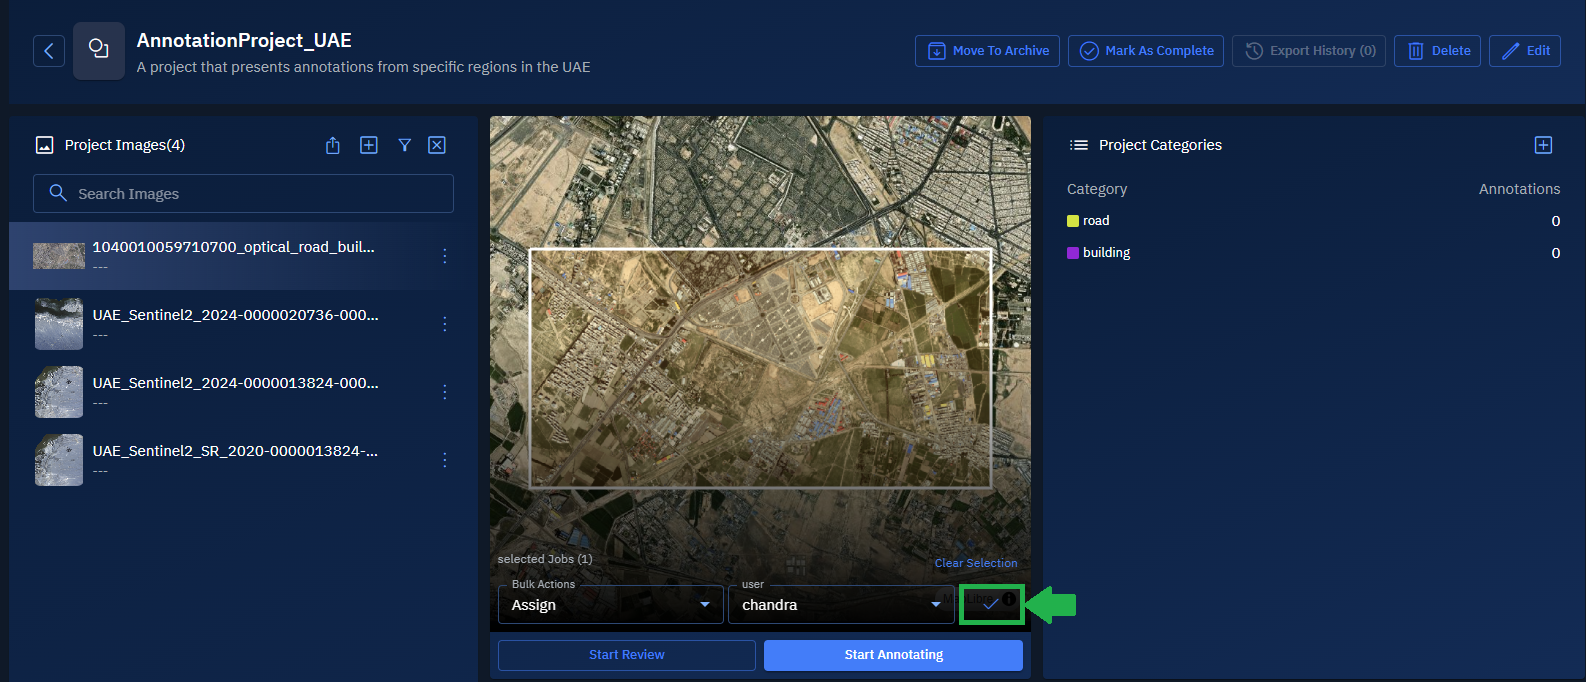
The job is successfully assigned to the user (annotator).